
Selling physical products
In this article:
- Create a physical product
- Collect sales tax
- Add variants and SKUs
- Manage shipping destinations
- Best practices
- After-sales service
Create a physical product
Click “New product” on the Products dashboard, and choose “Physical good”.

Similar to digital products, physical products also allow you to add a description, upload a cover and thumbnail image, add digital content, and much more: Adding a product
Collect sales tax
You can manually collect taxes on sales of physical products across the United States. Please read this article to learn more, and consult your local tax professional before making legal or financial decisions. It's ultimately up to you to collect and remit the proper sales tax amounts.
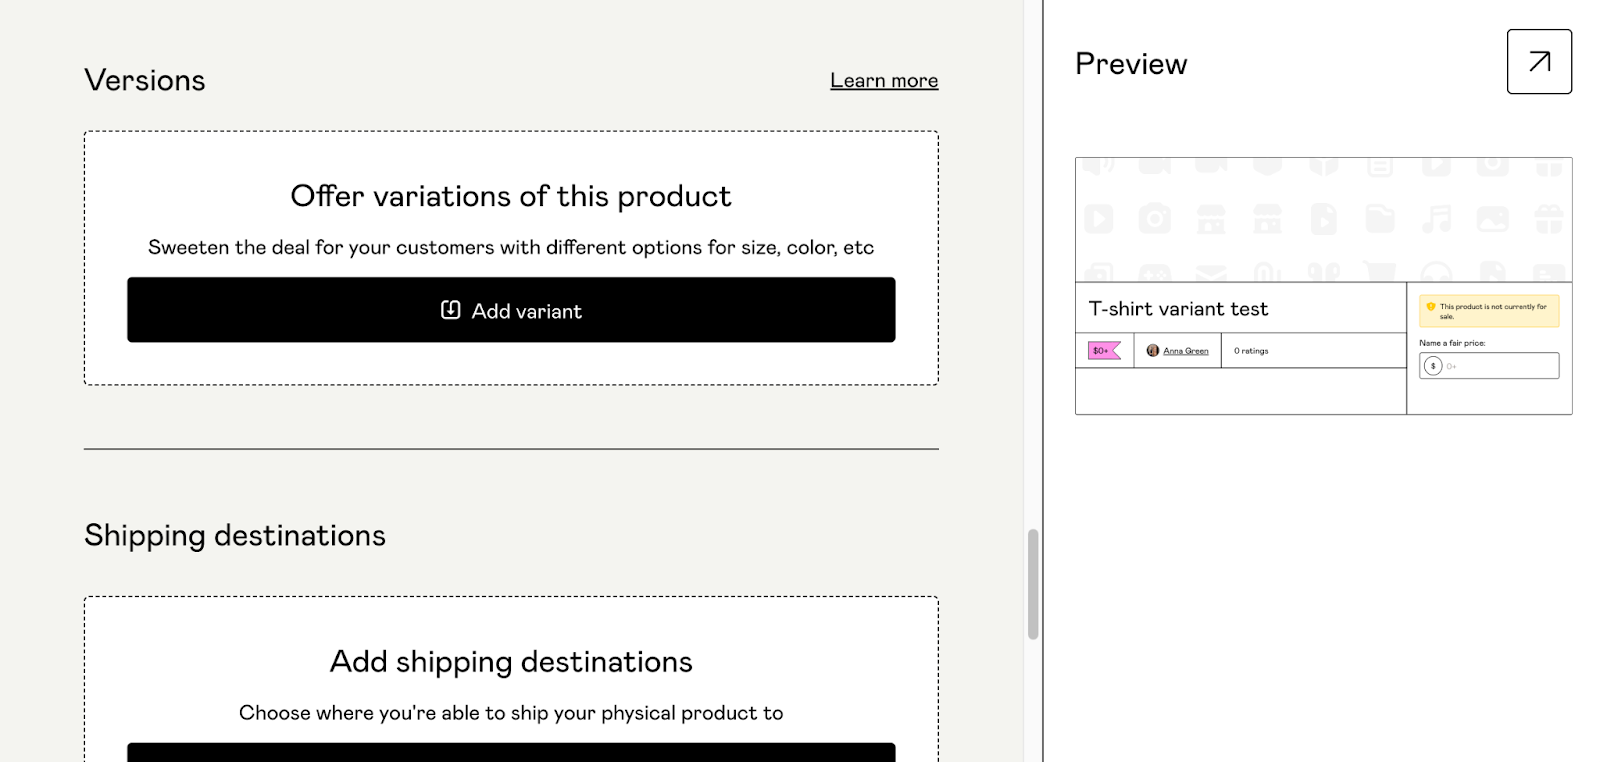
Add variants and SKUs
Variants allow you to offer your product in different sizes, colors, or other variations.
Scroll down to “Versions” and click “Add variant”. Type the variant name (e.g., “Color”, “Size”) and the available options (e.g., “Red”, “Blue”; or “Medium”, “Large”).
When you’ve added all desired options, click “Manage inventory and SKUs”. This will automatically create a unique SKU for every possible combination of versions. You can also enter a custom SKU.

If you have a limited quantity of a particular version in stock, you can record that amount in the “Qty” field. If you’d like to charge extra for one of your versions, enter the additional cost in the “Additional amount” field.
When you’re finished, click “Save Changes” on the top.
Reassign a customer to a different variant
If a customer chooses the wrong variant during checkout, you can reassign them to the correct variant from the Sales dashboard.
Select the customer, click the “Edit” button next to their variant, and select the correct variant. This does not charge or refund the customer; it simply updates their variant.
Manage shipping destinations
Click “Add shipping destination”, then select a destination country and shipping price.
Only buyers located in the countries that you've added as a shipping destination will be able to purchase your product. You can add as many destinations as you'd like.
If you'd like to make your product available worldwide, add the destination “Elsewhere” and set a shipping price accordingly.
In the “Amount alone” box, input the shipping cost for one of your items by itself. The “Amount with others” box represents how much shipping will cost for each additional product your customers buy. This only counts if someone buys more than one of the same product. Otherwise, shipping charges will add on for each product purchased.
Here's an example:
Let's say you are selling two products: Product A and Product B.
The shipping cost on Product A is $3, and $1 "with others."
The shipping cost on Product B is $4, and $2 "with others."
Since the "with others" only applies to the purchase if someone buys multiple versions of the same product, the situation is like this:
If a customer buys 2 x Product A my shipping cost is $4
If a customer buys 2 x Product B my shipping cost is $6
If a customer buys 1x Product A + 1x Product B my shipping cost is $7
You can read more about the other checkout-related customizations here.
Note: You need to set at least one shipping destination and shipping price (this price can be $0) before publishing your product. When your product is up and ready to go, hit “Publish”.

Best practices
Delayed delivery or non-delivery can put you at a higher risk of chargebacks, and in extreme circumstances, can lead to the suspension of your Gumroad account. Here are some best practices to avoid chargebacks and support queries from customers:
- Make sure your audience understands your product and anything that could impact their purchase decision. Your product description should include details like:
- Useful sizing information
- Product dimensions
- Specifics on fabrics and textures
- Shipping dates and estimated arrival times
- Your refund policy
- Be timely with your delivery and plan to ship out orders within 5-7 days of the sale.
- Let your customers know when to expect their order and provide them with a tracking number once it has shipped.
After-sales service
Sending orders to a fulfillment provider
- Export your orders as a CSV
- Double-check your orders' purchase date/time, noting that they are listed in Coordinated Universal Time (UTC)
- Remove orders with a "1" in the Refunded or Disputed columns to avoid shipping to customers who have received a refund or disputed the purchase.
- Send orders to your fulfillment provider for shipping!
If you want to use Printful as your fulfillment provider, here’s more information on Gumroad’s Printful integration.
Marking a product as shipped
To inform your customers that their order is on the way, select the purchase on the Audience dashboard and click “Mark as shipped”.
You can also enter the tracking URL from the shipping company to help your customers track the shipment.
Note: You must enter the complete tracking URL, not just the tracking number or ID.

Once you've marked an order as shipped, your customers will receive an email informing them that their package is on its way, along with the tracking info (if provided).